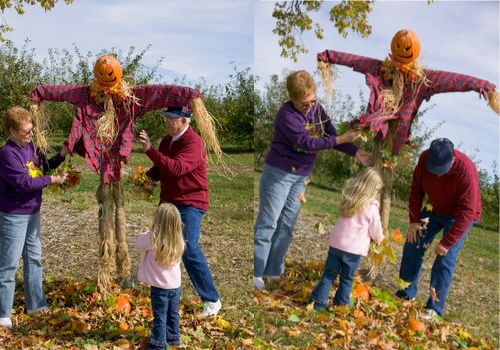
Scarecrows are a great family DIY project! Not only does it give you a chance to re-purpose many items you can find around the house, but create a great piece to display each fall season in your yard. This project will also give you the opportunity to cross off another item from the Macaroni Kid Fall Bucket List, found HERE!
Let's get started...
What you will need:
2 pieces of 2x2 wood
Rope
Old clothing (shirt and pants with belt loops)
Medium sized pumpkin
Straw or hay
Some kind of saw
Large hammer or mallet
Knife for carving
Directions:
Step 1- Put together your stand
- Place your 2x2 pieces together in the shape of a cross with the vertical post on top/in front.
- Slide the horizontal post through the arms of your shirt until the shirt is centered under the where the two posts intersect.
- Wrap your rope around where the two pieces intersect, holding them together.
Step 2 - Dress your scarecrow
- Cut a hole in the crotch of your pants, under the bottom of the front zipper.
- Slide pants up the vertical post until it reaches the shirt.
- Take the rope, attach to a back belt loop, guide the rope over the vertical post and attach to a front belt loop. This will make a "suspender". Repeat on other side.
- Button shirt half way.
- Use rope to tie off pant legs so filling will not fall out.
Step 3 - Fill your scarecrow
- Take your hay or straw and work to fill in pants.
- As you get to the top of the pants, "tuck in" the shirt and continue to fill.
- Fill arms of the shirt. Button up shirt the rest of the way and continue to fill.
Step 4 - Make your head
- Take your pumpkin and "gut" it as you would for making a jack-o-lantern.
- VERY IMPORTANT - Turn it upside down (so the hole is the bottom).
- Carve a face on the pumpkin as it is upside down.
Step 5 - Trim your scarecrow
- Depending on how long your posts are, you may want to trim the "arms" of your scarecrow.
- Place your pumpkin head near the scarecrow as a guide to how much you will need to trim off the top of your post.
Step 6 - Place your scarecrow
- Find the perfect spot for your scarecrow and use a hammer to drive it into the ground.
- If the ground is particularly dry, it may help to dampen the soil. This will make the post go in more easily.
- Once your scarecrow is standing on its own, you can place your pumpkin head on top and enjoy your new decoration.